

These tissue paper garlands seem to be everywhere right now - and you can pay a whopping great price for them. Frankly, it would be money well-spent because they are time-consuming {and sometimes a little mind-bending} to make.
My first one seemed to take forever, but I soon got into the swing of things and found short cuts along the way. Nevertheless, they require a little dedication - and if you love this sort of thing, they are well worth the effort. If you don't have the time, do buy them online {try etsy or made it}.
Dedicated crafters - here's how you do it:
Take three or four sheets of tissue paper and iron them flat with a warm dry iron. I failed to do this on my first one {below}, but did with subsequent tassels. Stack and fold the sheets in half shortways. Lay the rectangle on your cutting board with the fold at the top and fold it in half again shortways {ensure the top fold it still at the top; you will now also have a side fold and you can trim this off}.
Take your rotary cutter and metal ruler, and begin cutting strips, taking care to cut through all layers. I made my strips around 1.5cm wide.
When you are done, slide the strips onto your ruler and stack them on top of each other.


Take the strips off the ruler and begin twisting them in the centre. Continue on until your twist is long enough to form a loop. Hot glue {or twist-tie} closed.


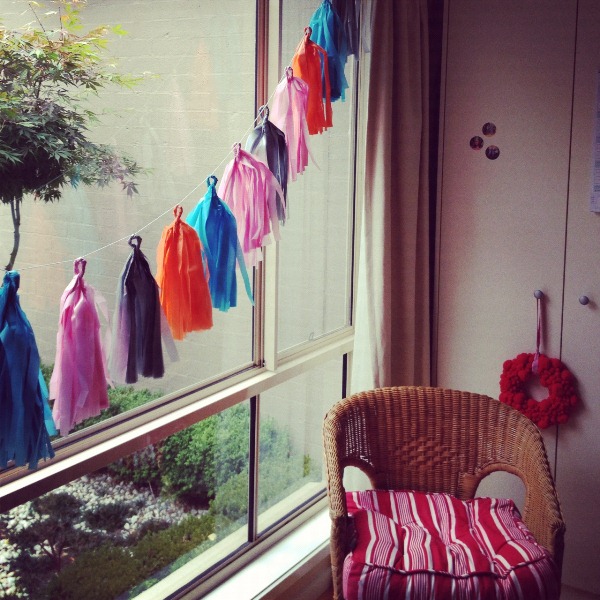
Slide your completed tassels onto twine or ribbon, tying off each one so it stays in place and doesn't slide along the string. If you use a half-knot, you can easily adjust the positioning of each tassel once you hang your garland.
Simple and utterly gorgeous.
1 comment:
I'm loving the tassel bunting people are doing but your version is super pretty. Will be trying this out next week, love Posie
Post a Comment