
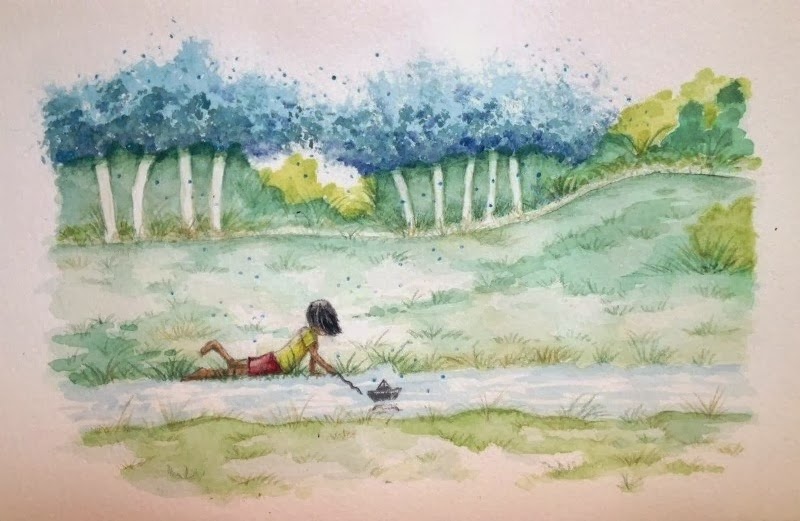
This week, for the 52-Week Illustration Challenge, I finally painted something I'm kind of proud of. It's this image, below.

I'm kind of proud of it because it came directly from my imagination, and I made it by utilising the watercolour skills I've learned these past two months. It's also because it's the first imagination image I've done that anywhere near equates what I saw in my head.
It was a breathtaking feeling to see something in my head appear on paper. So often, what we see inside doesn't appear in real life, and I can't even tell you the joy it brings.
I tried another illustration directly after this one, and I hated it. I thought too much about it and didn't trust my intuition and flow. Watercolour, in particular, needs intuition and flow. So I waited a day and this afternoon produced another image, at the top of this post.
I know these images aren't genius, but trust me when I say they are so much better than I ever thought I could produce. It's like something has been switched on in my brain and my hand is suddenly able to produce images I'm proud of--but more than that--images that connect with my heart.
As I revisit a long-forgotten part of my earlier life, and self-teach techniques that hone my craft, one of the things I'm fascinated by is the 'process' artists go through to create. Not being an 'artist', I thought I'd nonetheless show you the steps I took to create the green image. You might find it helpful for your own artistic quest!
I start with a light wash to delineate the landscape ...

Then I add a far distant background, with negative space for tree trunks and natural dips and rises on the land. The page is very wet with water at this stage, and I use that water to nestle pools of paint along lines and into shadows.

I then begin layering colour. I do this on both wet and dry paper. You can also put the colour down, wait until it's almost dry, then use a brush with a little clean water to 'pull' the paint around and make it fade or blend. You'll see here, I also stippled a blue base for the tree foliage. The paint was quite wet, then I let it dry.

Next, I continue to add extra layering--shadows.

Then I use darker blue paint to stipple shadow on the tree foliage.

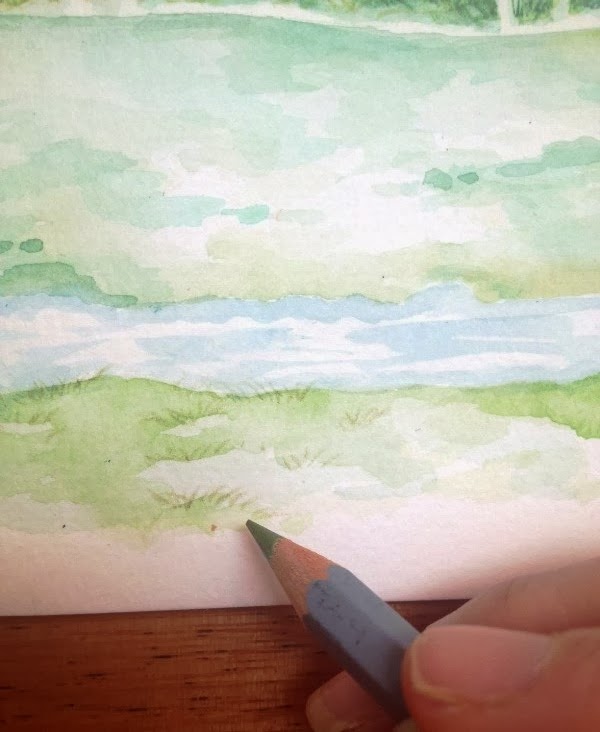
Once the image is dry (you can use a hairdyer if you're impatient), I use watercolour pencils to start adding definition and grass detailing. You can then use a damp brush to soften these lines or smear them, creating more background colour. You can see I've done that with the yellowish grass on the right ...

At the bottom of the image, I continued adding grass to the greener areas.
To finish off the base scene, I added some blue pencil dots around the top of the trees and also ran water over the river, to smooth the ripple lines. The paint was dry by then so it only smeared slightly, which is what I wanted.
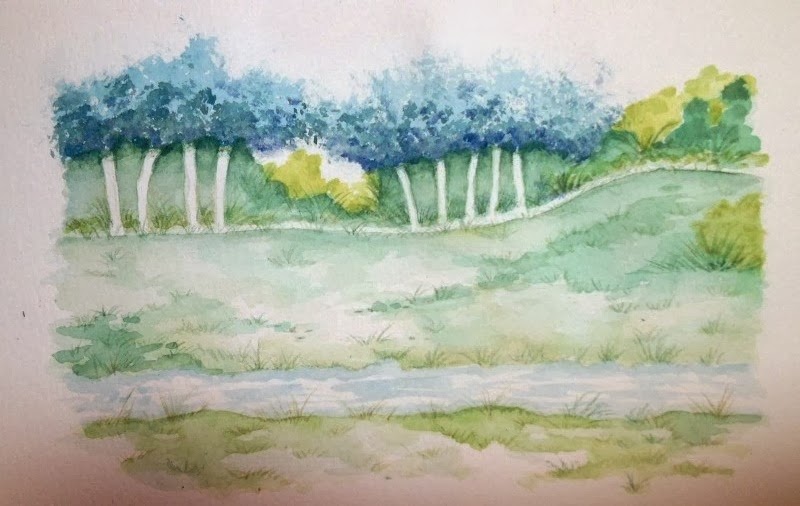
Here is the final image, before I added the boy ...

Typically, I get very nervous about drawing people, so I practiced him first on a piece of cartridge paper, then I drew him in. I actually changed his position as I drew him in, so he was lying down.
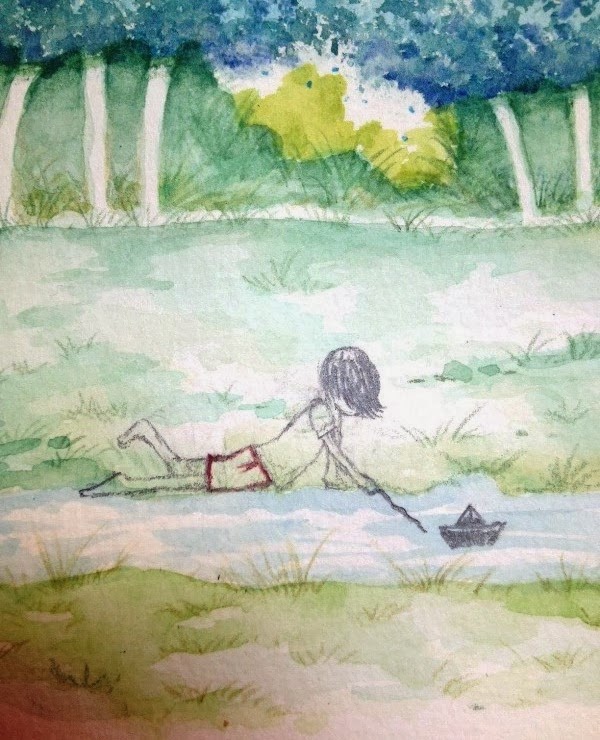
I then rubbed out most of the pencil until it was very faded, and painted him in, I always think about where the light is coming from, and ensure I have lighter spots where the light falls.
Et voilà - here is the final image, again. I know I still have a long way to go, but I really like it, and it feels so wonderful to create something you resonate with.
Are you interested in art? I've started a new blog for the Challenge. You can check it out here.
No comments:
Post a Comment